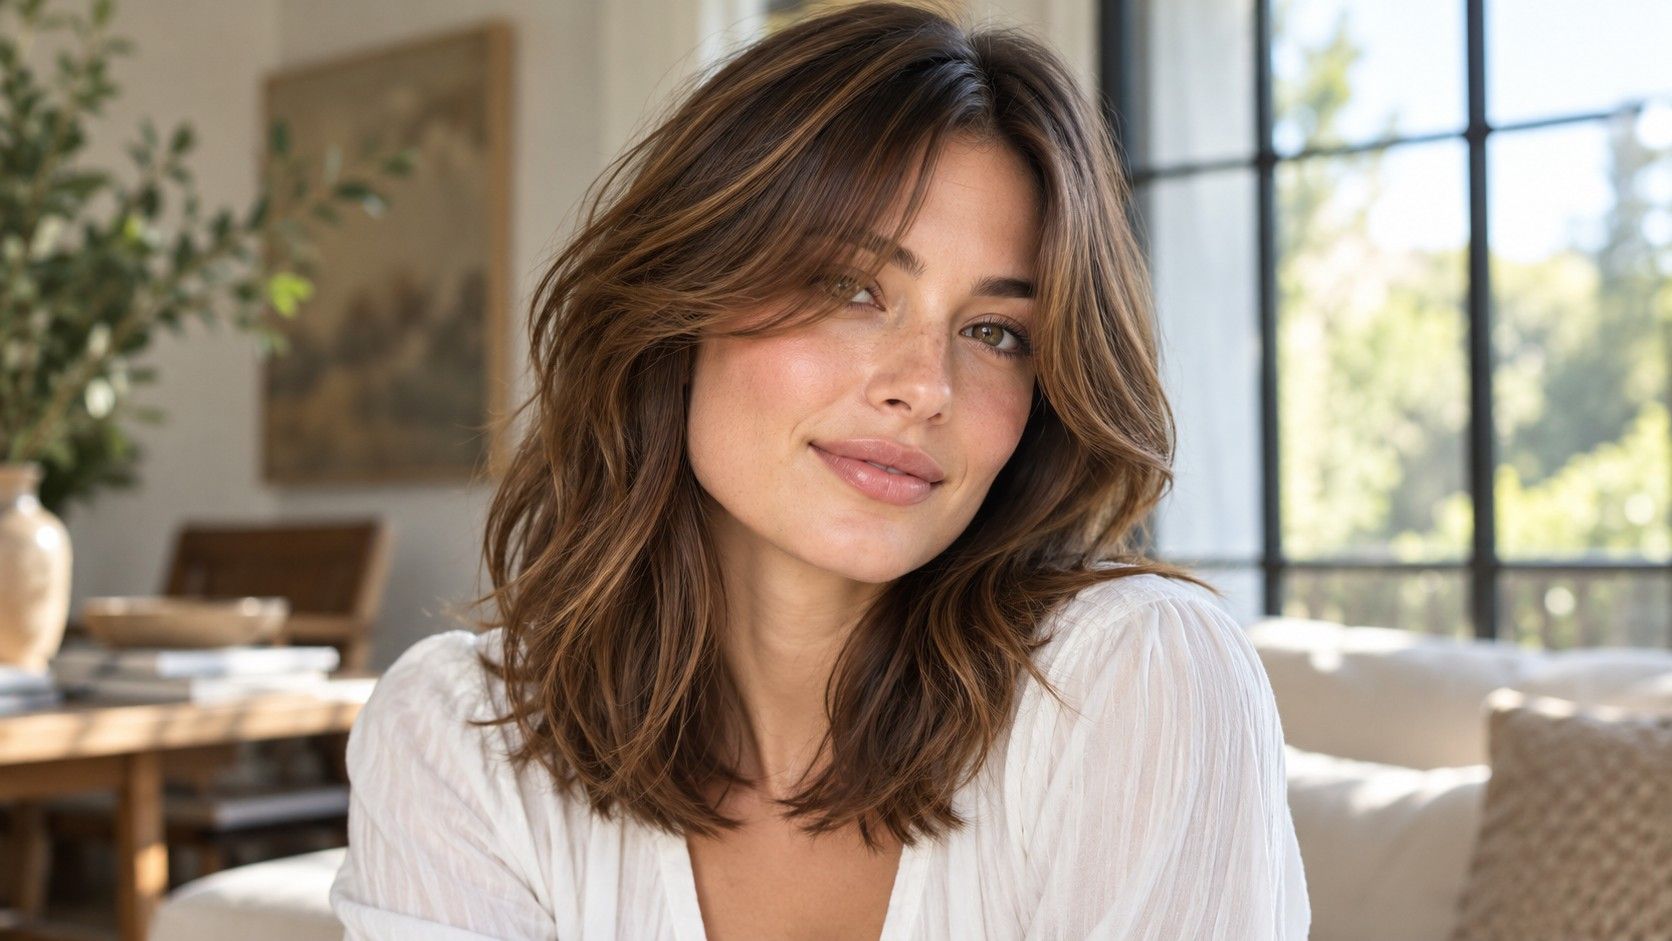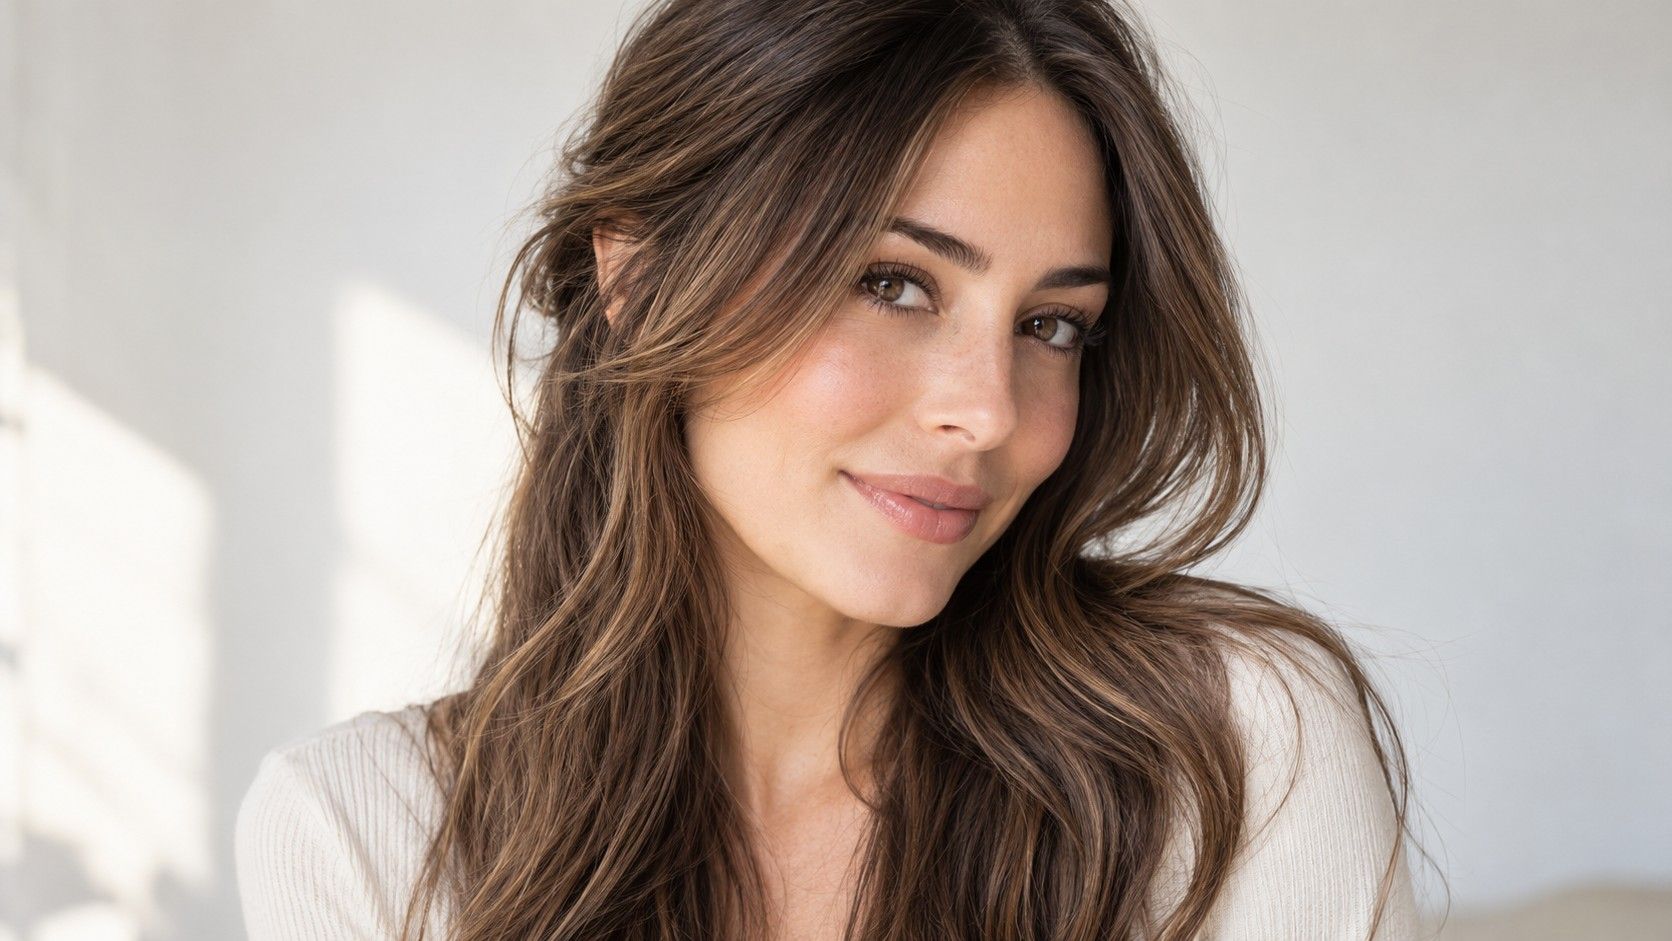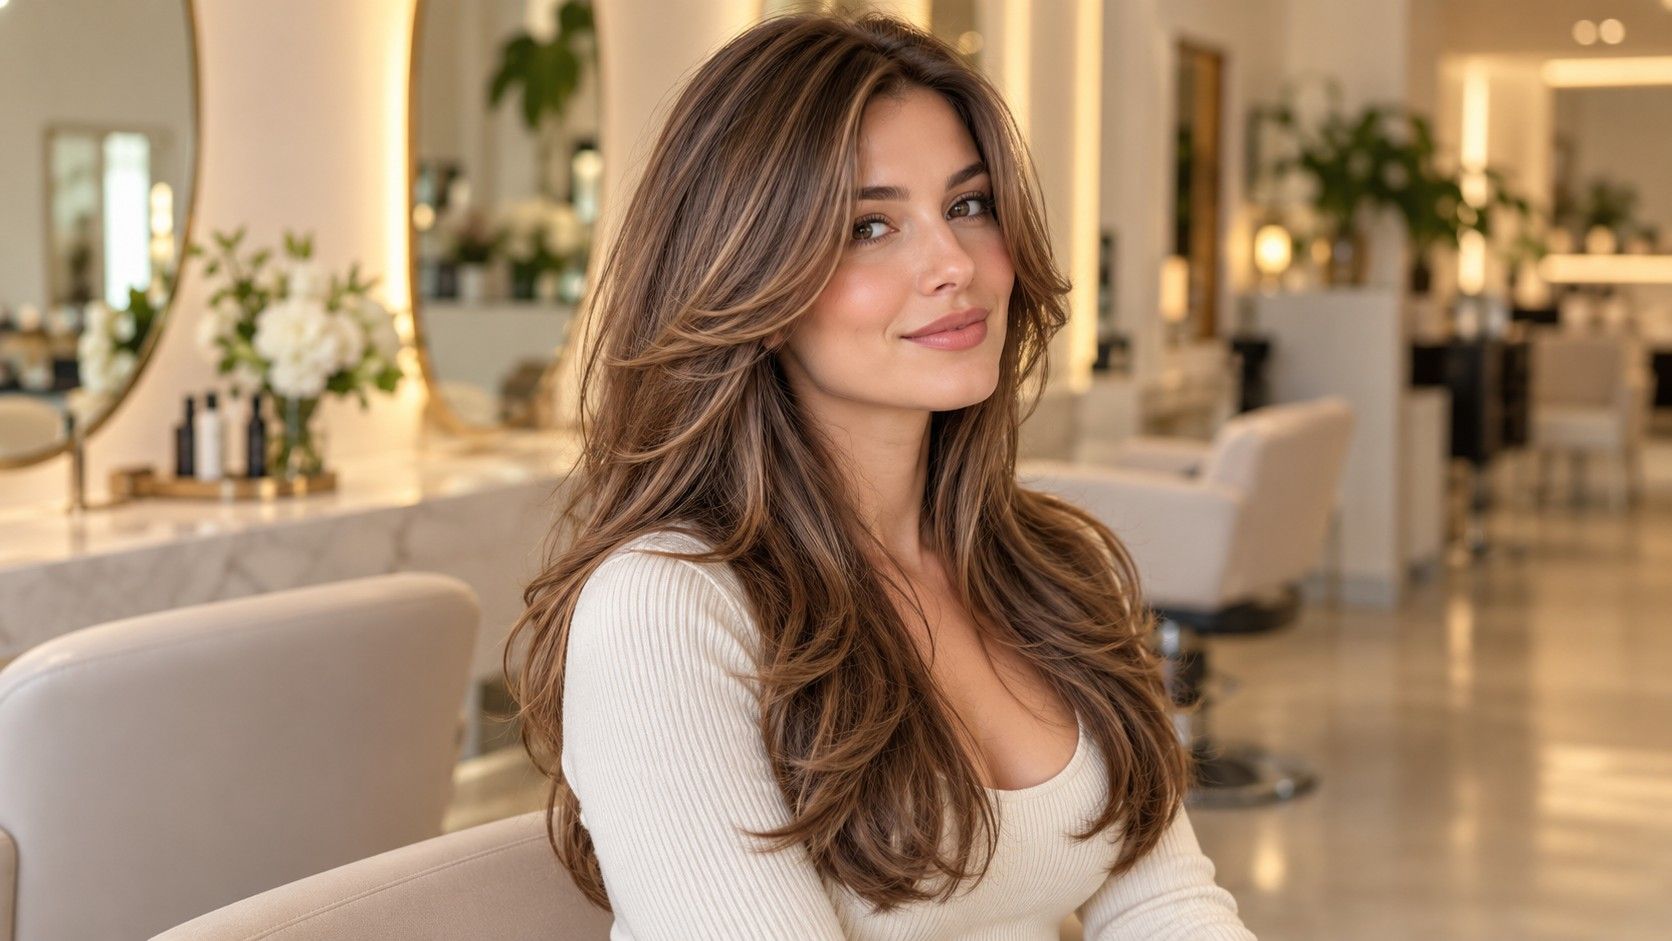
A butterfly haircut and a long layered cut can look similar in a sweeping salon blowout. The difference becomes clearer when you look at the shortest pieces, the amount of hair left at the bottom and the shape without styling. If you are comparing a butterfly haircut vs long layers, use those details to guide the choice. The name alone will not tell a stylist how much separation you want between the upper shape and the long outline.
Compare the shorter upper shape with the long outline
“Butterfly” is commonly used for a layered style with a noticeable shorter shape around the upper hair and face, combined with longer lengths below. The label is used loosely, so two references can ask for substantially different cuts. Long layers usually describe a more gradual distribution of length, though that term is broad too. Bring pictures and ask the stylist to point out where the shortest layers begin in each one.
Look beyond the front sweep. A butterfly reference may show a rounded, shorter outline above a narrower long section. If you like that contrast, it is useful evidence of what you want. If you mainly like the curved ends and shine, those details may come from styling rather than the shorter shape. Decide whether you would still like the cut if the ends lay straighter and the front had less lift.
Ask to describe the planned dry lengths with landmarks. The shortest front section might sit around the cheek, jaw or collarbone, while the shortest crown section may land elsewhere. Those are separate choices. “Keep it long” does not protect either one because a haircut can retain substantial back length while becoming much shorter around the face. Agree which parts must stay long before settling on the overall label.
Check how much hair can reach the bottom edge
Layering redistributes where the ends fall. Hair finishing near the shoulders no longer reaches a waist length perimeter, even though the total head of hair may still feel substantial. A stronger separation between the upper and lower shapes can therefore leave a lighter long section. That effect may suit the style you want, but it deserves a direct conversation if full ends are a priority.
Judge hair density in the area that matters. A thick ponytail does not automatically mean the bottom edge looks dense, particularly if existing layers taper strongly. Bring the hair forward against a plain shirt and look at the lower outline. If you can already see through the longest ends, ask whether a stronger perimeter with gentler layers would meet your goal more convincingly than adding a short upper shape.
Conversely, a dense, heavy outline may give you room to discuss a more pronounced change. The stylist should still account for how individual sections fall and how much weight you want to keep. Ask what would be removed from the sides as well as the back. The aim is not to qualify for a fashionable cut; it is to choose a distribution of length that you like from several angles.
| Decision | More pronounced butterfly shape | More gradual long layers |
|---|---|---|
| Visible contrast | A clearer shorter upper outline over longer lengths | A softer transition through the lengths |
| Fullness at the perimeter | Needs deliberate planning because more pieces may finish above it | Can retain more long sections when layering is restrained |
| Hair tied back | Short upper or front pieces may need pins | Longer pieces may offer more reach, depending on placement |
| Salon reference | Check the unstyled shape and back view carefully | Check that the subtle movement is visible enough for your goal |
Ask what the cut will do without a blowout
Many references show carefully dried lift, curved ends and front pieces directed away from the face. That finish helps display the layers, but it is not a reliable picture of an air dried morning. Tell the stylist whether you usually air dry, diffuse, rough dry or use a brush. Ask which parts of the reference depend on the finish and what shape is likely to remain when you skip it.
On straighter hair, the difference between lengths may be easier to see when the ends have no curve. On wavy hair, short sections can form different bends from the longer ones. Curly hair introduces varying shrinkage and a separate dry placement decision. These are reasons to discuss your individual hair texture and natural growth pattern, rather than reasons to apply a blanket rule about who can wear either cut.
Be honest about the work you enjoy. If styling the front is a satisfying part of your routine, a pronounced shape may be worth the effort. If the dryer comes out only for special occasions, ask to see references with a more relaxed finish. A cut is easier to assess when the picture resembles the condition in which you will wear it most often.
At the appointment, request an explanation of the everyday finish before the stylist begins a lengthy styling session. You might ask which sections need direction, which can be left alone and how to check the back. Follow tool instructions and use comfortable settings when repeating the routine. The point is to understand the requirement, not to collect more equipment before you know whether the cut suits your habits.
Bring reference views that answer practical questions
Choose a small set of references that show a consistent idea. A front view explains the framing, a side view shows the step between the face and the length, and a back view reveals the perimeter. If those views come from different haircuts, point out exactly which feature you mean in each one. Otherwise the stylist has to reconcile a full base in one photograph with a heavily tapered outline in another.
Also bring a photo of a result you want to avoid, with a clear explanation. Perhaps you dislike very short crown pieces, a narrow tail of long hair or front sections that sit above the jaw. An unwanted detail can be easier to describe than an abstract request for softness. Keep the discussion specific to length and shape rather than assuming a style name will exclude that detail automatically.
Try your usual ponytail or clip arrangement during the consultation. The shorter upper shape in a butterfly interpretation can leave pieces loose even if the overall haircut is long. Decide whether that is welcome. If you need everything secured for work or exercise, show where the tie normally sits and set a minimum reach for the relevant sections. Face framing that looks attractive worn loose should still fit your other daily uses.
Choose a gradual version if the main concern is regret
You do not have to choose between an extreme contrast and almost invisible movement. Ask whether a longer front and a restrained upper layer would let you test the idea while keeping more length. The stylist can explain which part of the butterfly shape would remain subtle and which could be strengthened later. A gradual approach works best when the first appointment has a clear goal of its own, such as improving front movement while protecting the base.
Changing the front first may also reveal how you feel about styling shorter pieces. If they repeatedly fall into your face or fail to reach your clip, you have useful information before shortening more of the upper hair. If you like the result and maintain it comfortably, you can discuss a more pronounced shape later. Going shorter is a separate choice; it need not be built into a maintenance trim by default.
After several normal washes, assess the cut in the conditions that matter to you: loose and air dried, styled for an evening, and tied back for a busy day. Photograph any persistent issue from the angle where it appears. Explain whether the problem is the shorter outline, thin ends or the time required to create the sweep. That helps the salon suggest a focused adjustment instead of adding layers across the whole head. The better choice is the shape you want to wear, with upkeep you are prepared to repeat.