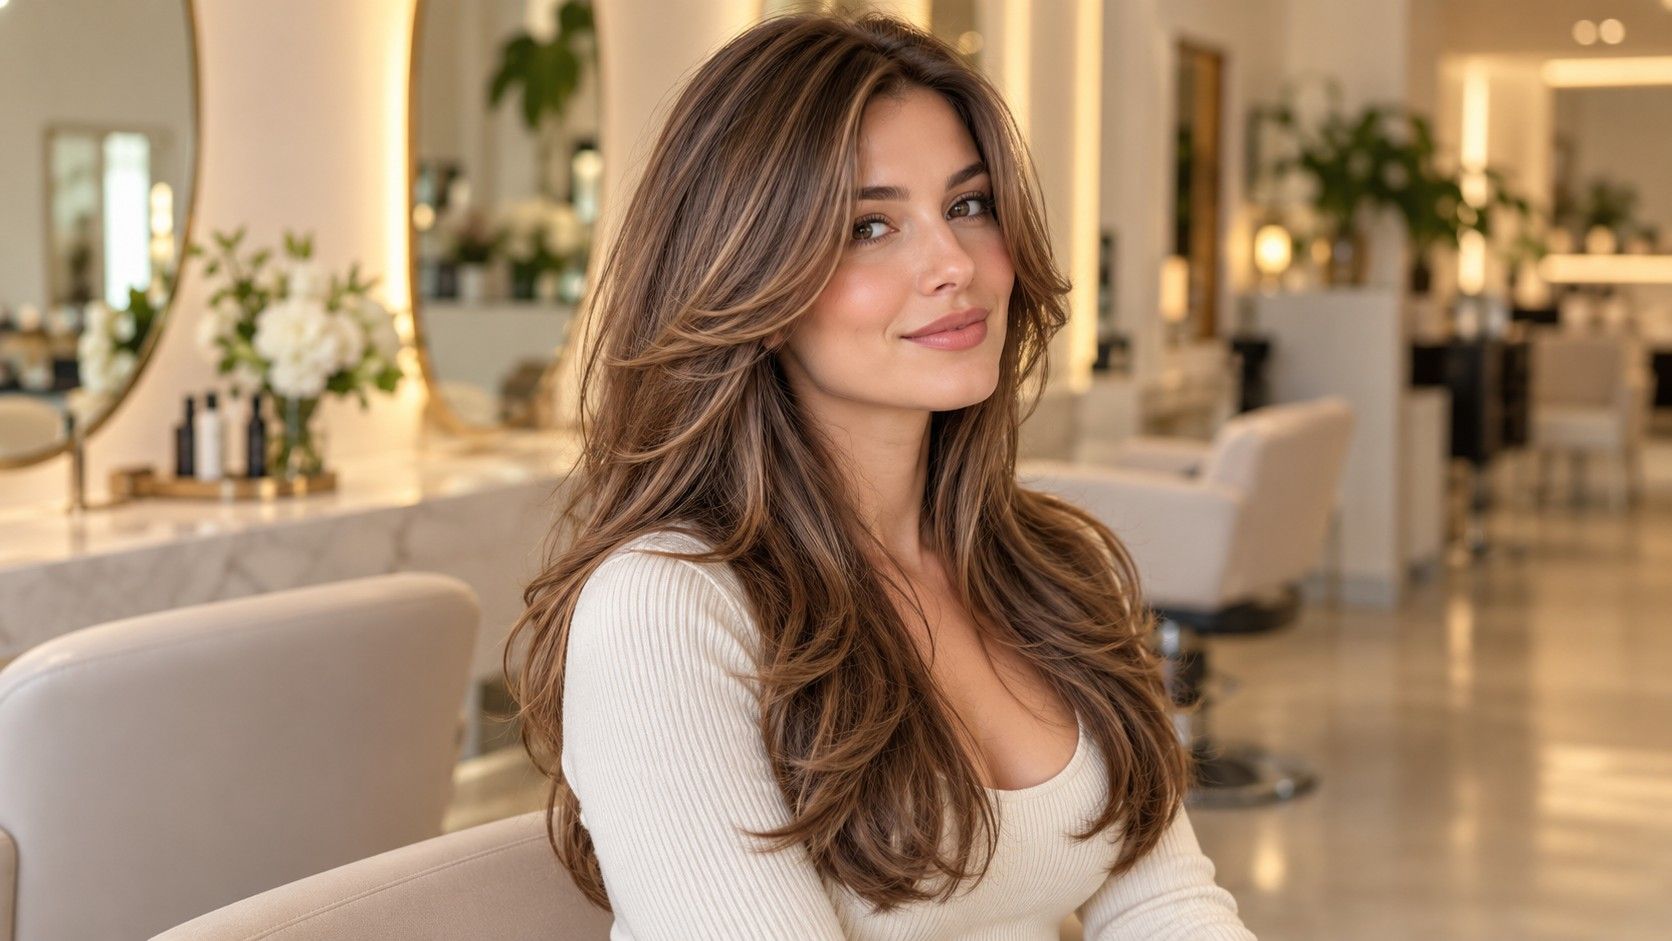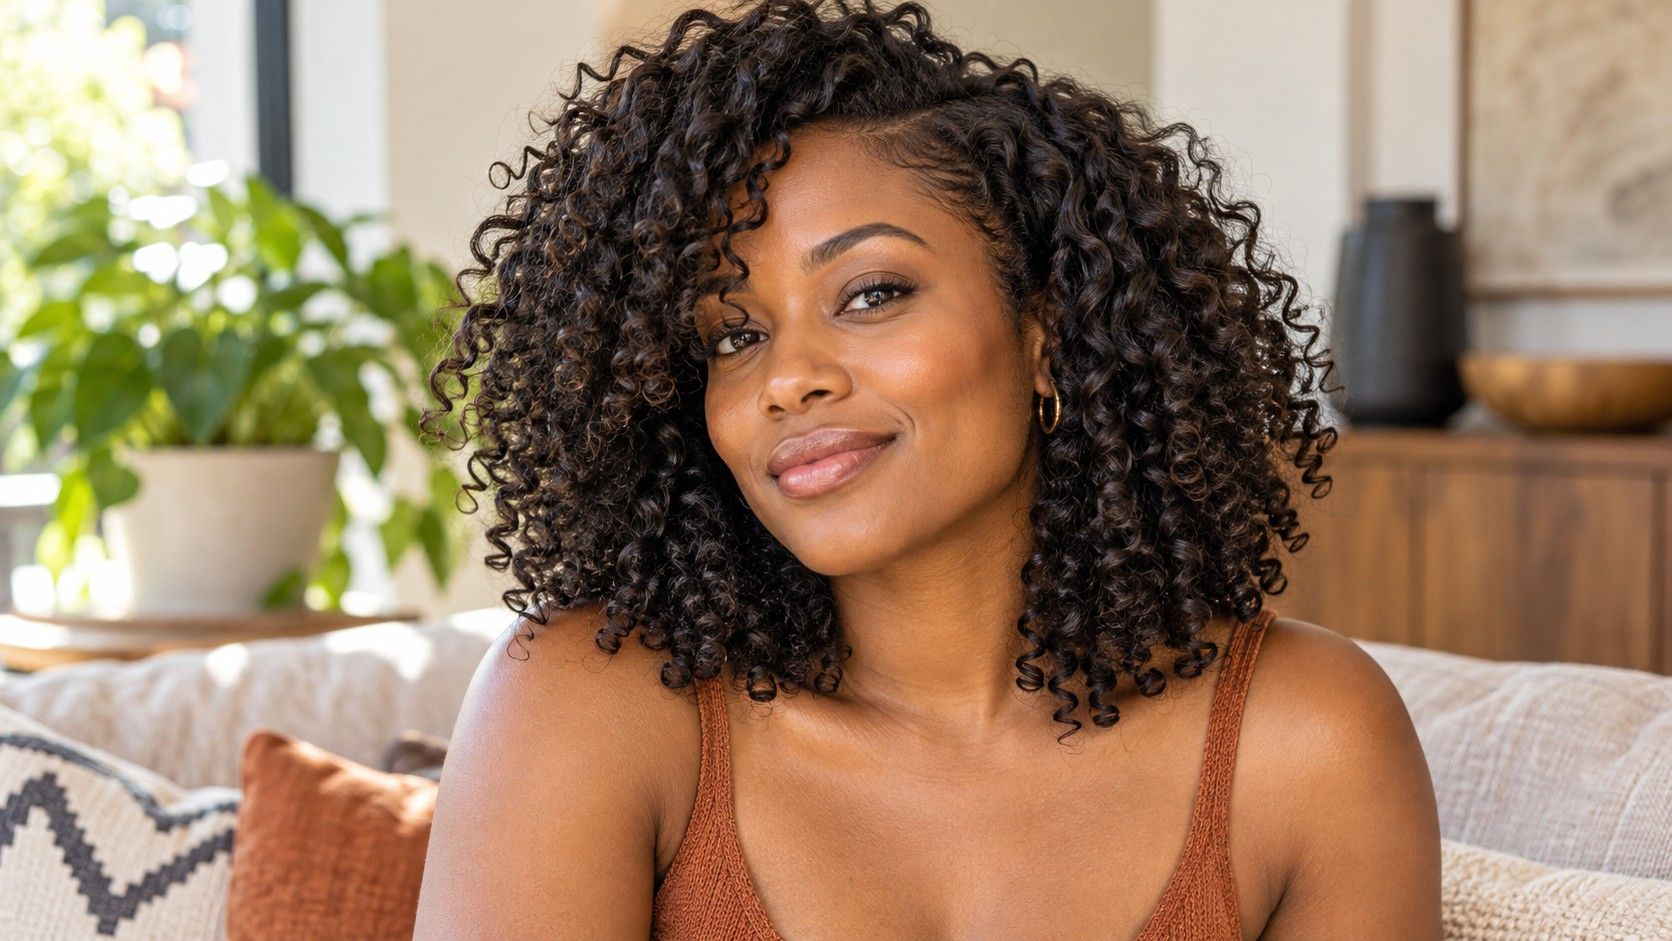
Curtain bangs can change the front of a haircut while leaving most of its length intact. They can also become the part you have to fix every morning. Before choosing curtain bangs with layers, decide how short you want the middle pieces, how often you tie your hair back and whether you are willing to reset the fringe separately. A useful consultation connects those front pieces to the sides without quietly sacrificing the fullness you want to keep.
Decide whether you want bangs or longer front pieces
The word “curtain” describes a parted effect, but it does not give the stylist an exact length. One reference may have short central pieces opening across the forehead; another may show long face framing that starts at the cheekbones. Both can be swept to the sides in a photograph. Point to where the shortest piece should end when dry, and ask the stylist to show the planned outline before cutting. This turns a vague style name into a decision you can see.
Think about how those pieces will behave when they fall forward. Hair near the eyes can feel quite different from a cheek length section that tucks behind an ear. Put on your glasses, look down as though reading and turn your head. If you want the front entirely off your face during work, make that a firm requirement. A fringe that looks balanced in a still photograph may need more clipping or brushing than you expect during an ordinary day.
Longer front pieces are worth discussing if you like the opening around the face but are uncertain about having bangs. They preserve more options for tucking and tying, although the exact reach depends on your length and natural fall. You can shorten them at a later appointment if the routine suits you. There is no need to choose the shortest version simply because it has the clearest name in a reference caption.
Check your parting and growth pattern before choosing symmetry
Bring your hair into its usual parting during the consultation. A strong side part, an upward growing section at the hairline or a persistent split can affect where the fringe settles. Explain whether you already persuade that section into place with a brush or whether you normally leave it alone. The aim is to understand the styling needed for the proposed opening, not to insist that a growth pattern makes every version impossible.
A center opening does not require the two sides to behave identically. One may lift more or sweep away more readily. Ask how the stylist would accommodate that difference, especially if the reference shows a perfectly matched pair of curves. You may prefer a slightly softer, less symmetrical result that follows your normal fall. If you change your part regularly, check the appearance on both sides before committing to a front shape designed around one position.
Wavy and curly fronts need a dry length conversation of their own. A damp section can look safely below the eye and rise as it dries. Show the stylist your usual dry pattern and mention whether the front curls differently from the rest. For straight hair, ask how much of the outward sweep in the reference depends on styling. Hair texture helps set expectations; it should not become a rule that assigns everyone the same fringe.
Connect the fringe without taking too much from the sides
Blending describes the transition from short front pieces into the longer haircut. It does not mean that every nearby section must become short. Ask the stylist to identify where the fringe ends and the face framing begins. This is especially helpful if your sides already look thinner than the back. The plan should account for the hair density around the temples as well as the amount of hair through the overall shape.
Look at the outline with the hair brought forward over your shoulders. If the lower sides are already sparse, a wide fringe section combined with strong layers may leave less hair reaching that edge. Explain whether you want a soft taper, a clearly stepped shape or a full line around the front. A reference photographed from the front can hide how much hair remains at the sides, so a second angle is useful when you can find one.
The rest of the haircut does not need a dramatic change to support a fringe. You might keep long layers and use a restrained connection around the face, or combine a shorter fringe with a more pronounced upper shape. Ask what each choice would change in the back. If you only want to alter the front, say so explicitly rather than assuming the request for bangs limits the rest of the appointment.
Also check how the proposed connection behaves when tucked behind an ear. Some pieces may be long enough to tuck while their shorter neighbors spring forward. That can look relaxed if you like loose strands, or annoying if you want a clean edge beside your glasses. A practical tuck test helps establish the minimum length of the sections next to the fringe, where a small difference is often felt more than it is seen.
Allow time for a separate fringe reset
Front pieces can need attention even when the rest of the hair still looks good. Sleeping, a hat or repeatedly pushing the fringe aside may change its direction. Before the cut, explain how much daily styling you are prepared to do. If the salon finish involves a dryer and brush, ask for a demonstration of the smallest useful routine and try to understand the hand movement. A finished look is easier to maintain when you can reproduce the process.
You may be comfortable lightly dampening and restyling the front while leaving the lengths alone. Ask whether that approach suits the finish you want, and follow the directions for any tools and products you use. You do not need to add a complicated set of products immediately. Start with the routine shown at the appointment, then decide whether the hold and texture feel right once you have tried it at home.
If you usually air dry, ask to discuss the air dried version directly. A fringe that naturally falls straight may not keep a rounded sweep without help; a wavy front may separate into uneven bends. Those outcomes can be attractive, but they differ from a carefully brushed reference. Choose the version you would be happy to see on a morning when there is no time for styling. Reserve a more polished finish for the days you want to make that effort.
Keep styling expectations tied to comfort. If the front catches on your frames, needs repeated touching or feels too short to pin conveniently, note the specific problem. “The bangs do not work” gives the salon less to act on than “the central pieces fall into my eyes when I read.” Clear observations make a follow up conversation more useful and help avoid unnecessary shortening.
Plan the grow out before shortening the front
Ask what the fringe will look like as it becomes longer face framing. The answer depends on the starting length and the surrounding layers, so a universal timetable will be less useful than an explanation of the next shape. You may want occasional fringe maintenance, or you may prefer to let the pieces gradually join the rest. Agree which lengths a future trim should preserve so that an attempt to tidy the front does not repeatedly restart the grow out.
Your tied back length deserves a separate check. Try the low ponytail, bun or clip you normally use, and identify which front pieces would fall out after the cut. A high bun and a low ponytail do not require the same reach. If loose pieces are acceptable, decide how short they can be before you need pins. If every section must stay back for work or exercise, longer framing may be the more workable starting point.
At home, take a photograph after your own first few styling attempts, including an unstyled day if that is part of your routine. Bring those pictures to any adjustment appointment. Perhaps the connection is too heavy, the central opening is too narrow or the side pieces need more length rather than less. Keep the conversation focused on that issue. Curtain bangs are easiest to live with when their dry position, styling needs and path back to longer hair have all been considered.