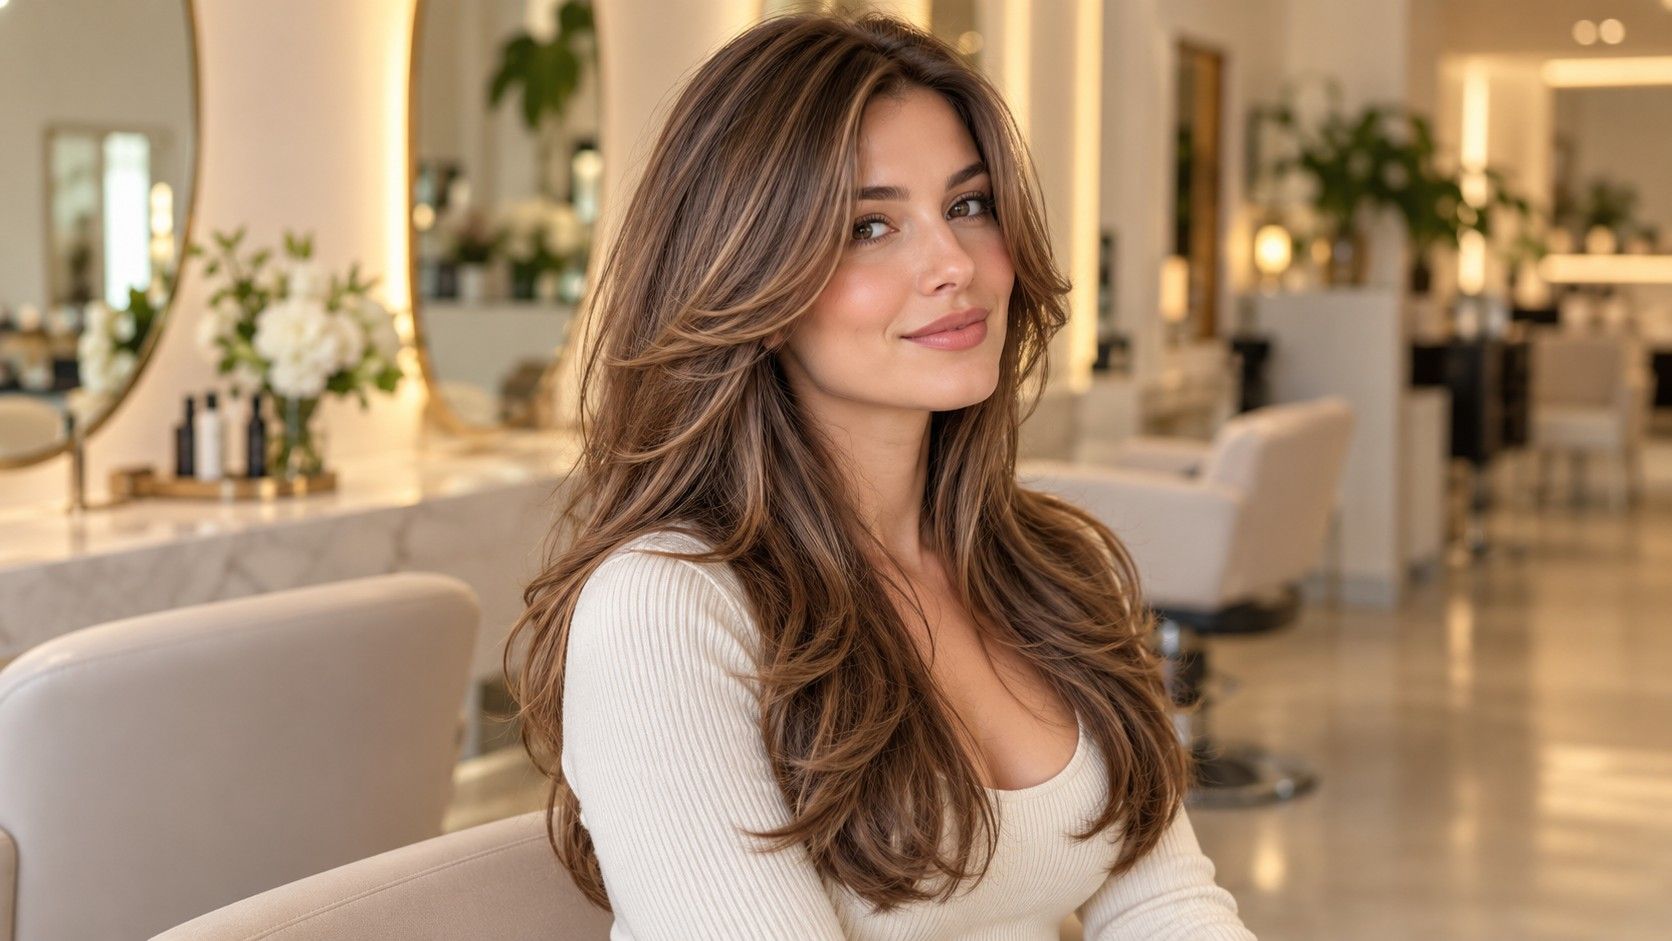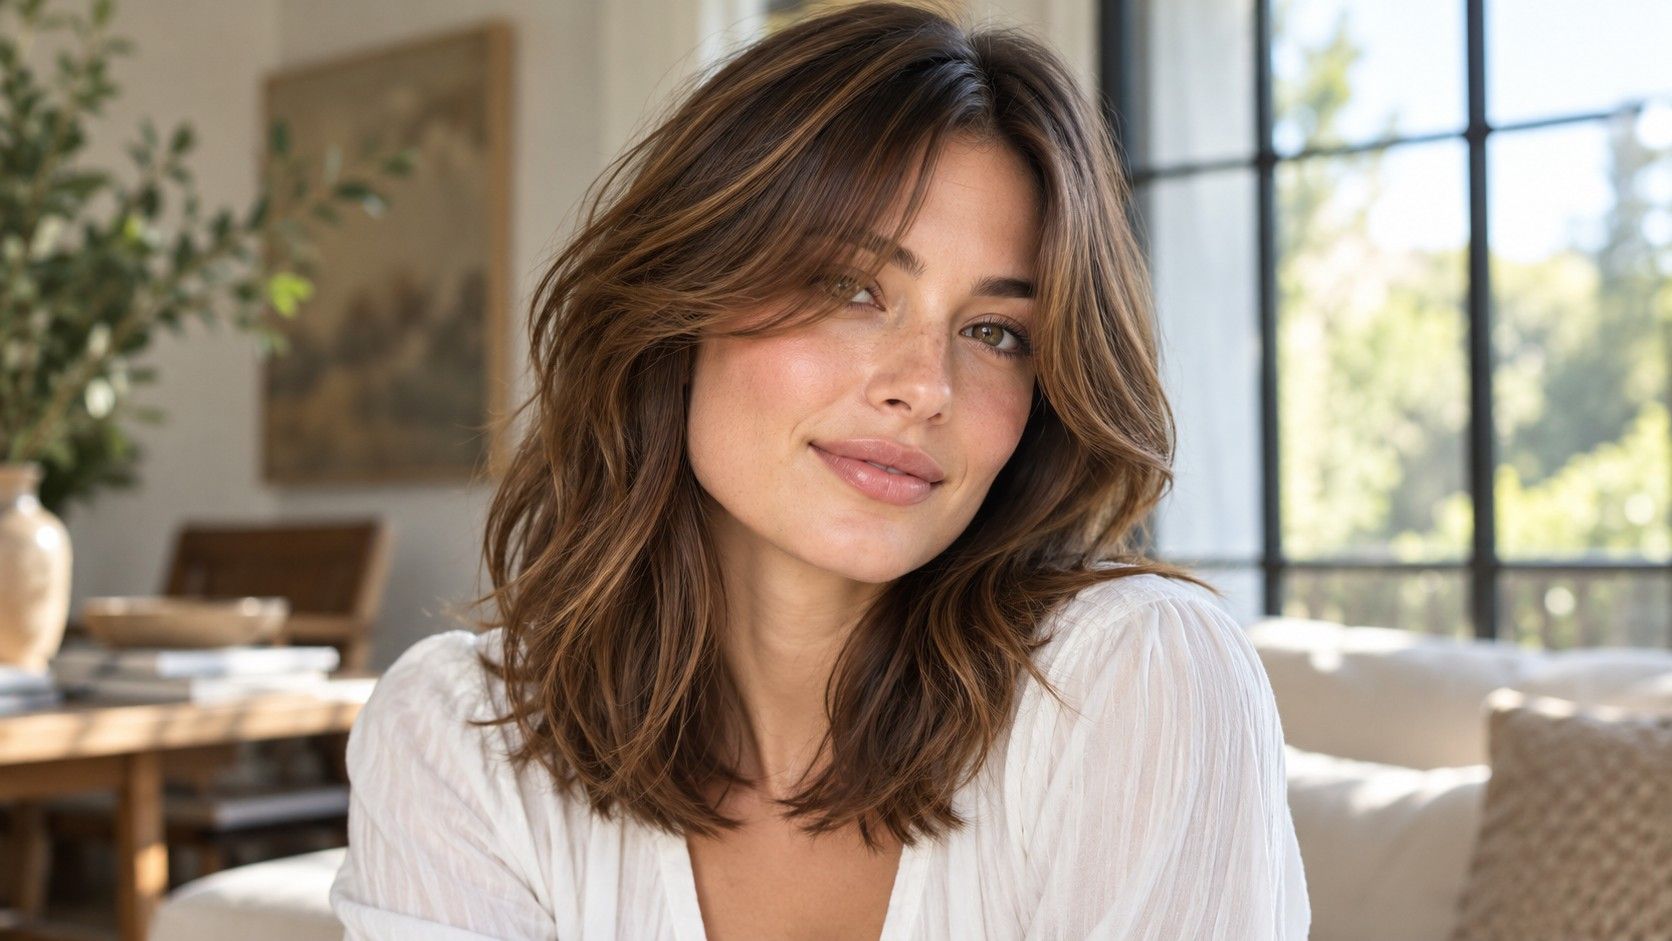
Layers for fine hair work best when there is a clear plan for what stays full. A few shorter pieces can release movement around the face, while too much graduation can leave the bottom looking sparse. Before choosing a photograph, decide whether you want a different silhouette, more lift at the roots, or ends that turn more easily. These are different requests, and a haircut cannot solve all of them in the same way.
Check strand thickness and density separately
Fine describes the diameter of individual strands. Density describes how much hair occupies an area of the scalp. You can have fine strands in a dense head of hair, or fine strands with wider spaces between them. The distinction matters because a stylist may have room to remove some weight from dense fine hair, while a lower-density outline may need almost every strand it has.
Look at your hair clean, dry and in its usual part before the consultation. Notice the sides above the ears, the bottom few inches and the area near your crown. If the ends already separate into narrow points, ask what layering would do to that edge. A photograph taken against a contrasting shirt can make the outline easier to discuss than a picture with all the hair swept over one shoulder.
Do not turn a visual check into a diagnosis. Your aim is to describe the haircut you have and the shape you want. Tell the stylist where you dislike seeing gaps and where the hair feels heavy. That gives the appointment a practical starting point without assuming that every fine-haired person needs the same cut.
Decide whether layers solve your actual styling problem
A flat crown does not automatically call for short crown layers. If the hair lies close to the scalp because of its growth direction or a heavy styling product, cutting the top shorter may change the shape without giving the lift you expected. Explain what happens after an ordinary wash: does the top fall flat, do the ends sit rigidly, or does one side tuck under while the other flicks out?
For hair that already looks light at the ends, a blunt or softly softened outline with very limited layering can be a sensible starting point. It keeps the edge visually connected. Dense fine hair that hangs in a solid sheet may accept a few longer layers while retaining a strong perimeter. Neither approach promises permanent volume; drying method, humidity and the way the hair naturally falls still affect the result.
Use the comparison to narrow the conversation, rather than as a cutting prescription. Two people with the same length can have different growth patterns and different amounts of hair at the front. Ask the stylist to show where the proposed shorter pieces will fall on your dry hair.
Keep a visible edge and agree on the shortest layer
The perimeter is the outside line at the bottom of the cut. On fine hair, that line often does much of the work of making the shape look substantial. If you want movement but dislike wispy ends, say both things together. “I want the lower edge to stay full, with only enough layering to let it move” is clearer than asking for volume alone.
Agree on the shortest layer before cutting begins. Point to a place on your own hair, then ask how that piece will sit when dry and when tucked behind an ear. A reference with cheekbone-length pieces may look soft in a blowout, yet feel quite short when those pieces fall forward during the day. Starting with a longer layer leaves more room to adjust later.
Ask how much hair will be included in that first layer. The length alone does not tell the whole story: a narrow section at the front and a broad layer around the head can create very different outlines. If the stylist suggests extensive texturizing, discuss the intended benefit and the effect on the ends before agreeing. You do not need to choose the tool; you do need to understand the shape it is meant to produce.
Shape the front without emptying the sides
Face framing can give fine hair a noticeable change while leaving much of the back intact. The vulnerable area is often the side between the cheek and shoulder, especially when the front sections are already less dense. Ask for the proposed section to be shown in the mirror. A small amount of front shaping may achieve the movement you want without taking a wide sweep of hair out of the outline.
Bring your usual glasses, and mention whether you tuck your hair behind your ears. Short pieces can catch on frames or return to the face after a few minutes. If a ponytail is part of your workday, demonstrate its usual height. Hair that reaches a low tie may slip out of a high one, so “long enough to tie back” needs a real example.
Try to choose references that show the front and both sides, not just a polished rear view. A curtain-fringe photograph can hide how much hair has been taken from the temples. Ask whether the front would need a brush or dryer each morning to sit as pictured. A shape you like only after a careful blowout may be the wrong match for a quick air-drying routine.
Build lift with a light, repeatable routine
Start with the smallest useful amount of styling product and add more only if needed. A lightweight mousse or root product may help support the style, but product choice and amount are personal. Put heavier conditioning products where your hair needs them, rather than coating the roots by habit. If the finished hair feels coated or separates into strings, the routine may be obscuring the cut.
When blow-drying, use an appropriate heat setting and keep the airflow moving. Lift small root sections gently instead of pulling hard with a brush. Let a section cool before handling it again if you are setting a curve. Follow the heat tool's instructions and use a suitable heat protectant; repeatedly chasing extra lift with hotter passes can make the routine more demanding than the haircut warrants.
Air-dried hair deserves its own reference. Ask to see the shape with minimal finishing at the salon, even if you also want a styled photograph. A few layers may fall neatly on one side and need encouragement on the other because of the natural growth pattern. That is useful information to learn before you leave, while the stylist can demonstrate a simple adjustment.
Make the next appointment about what changed
After a few washes, note two or three specific results. Perhaps the front turns more easily but escapes your ponytail, or the back moves well while the ends look thinner than you prefer. Take a straightforward dry-hair photograph in ordinary light. Concrete observations make a maintenance appointment more useful than a general request for “more body.”
If the layers feel too light, ask which parts can be left to grow while the perimeter is maintained. Cutting more layers to blend every short piece may move you further from the fullness you wanted. A temporary simpler outline can be a workable compromise. The right trim schedule depends on the shape and your growth, so agree on what will be preserved at the next visit instead of assuming the whole haircut needs refreshing.
A successful fine-hair cut should fit both the mirror and the morning. Keep the edge you value, choose a cautious first layer, and judge the result in your normal routine. Movement is useful only if you still like how much hair appears to be there.