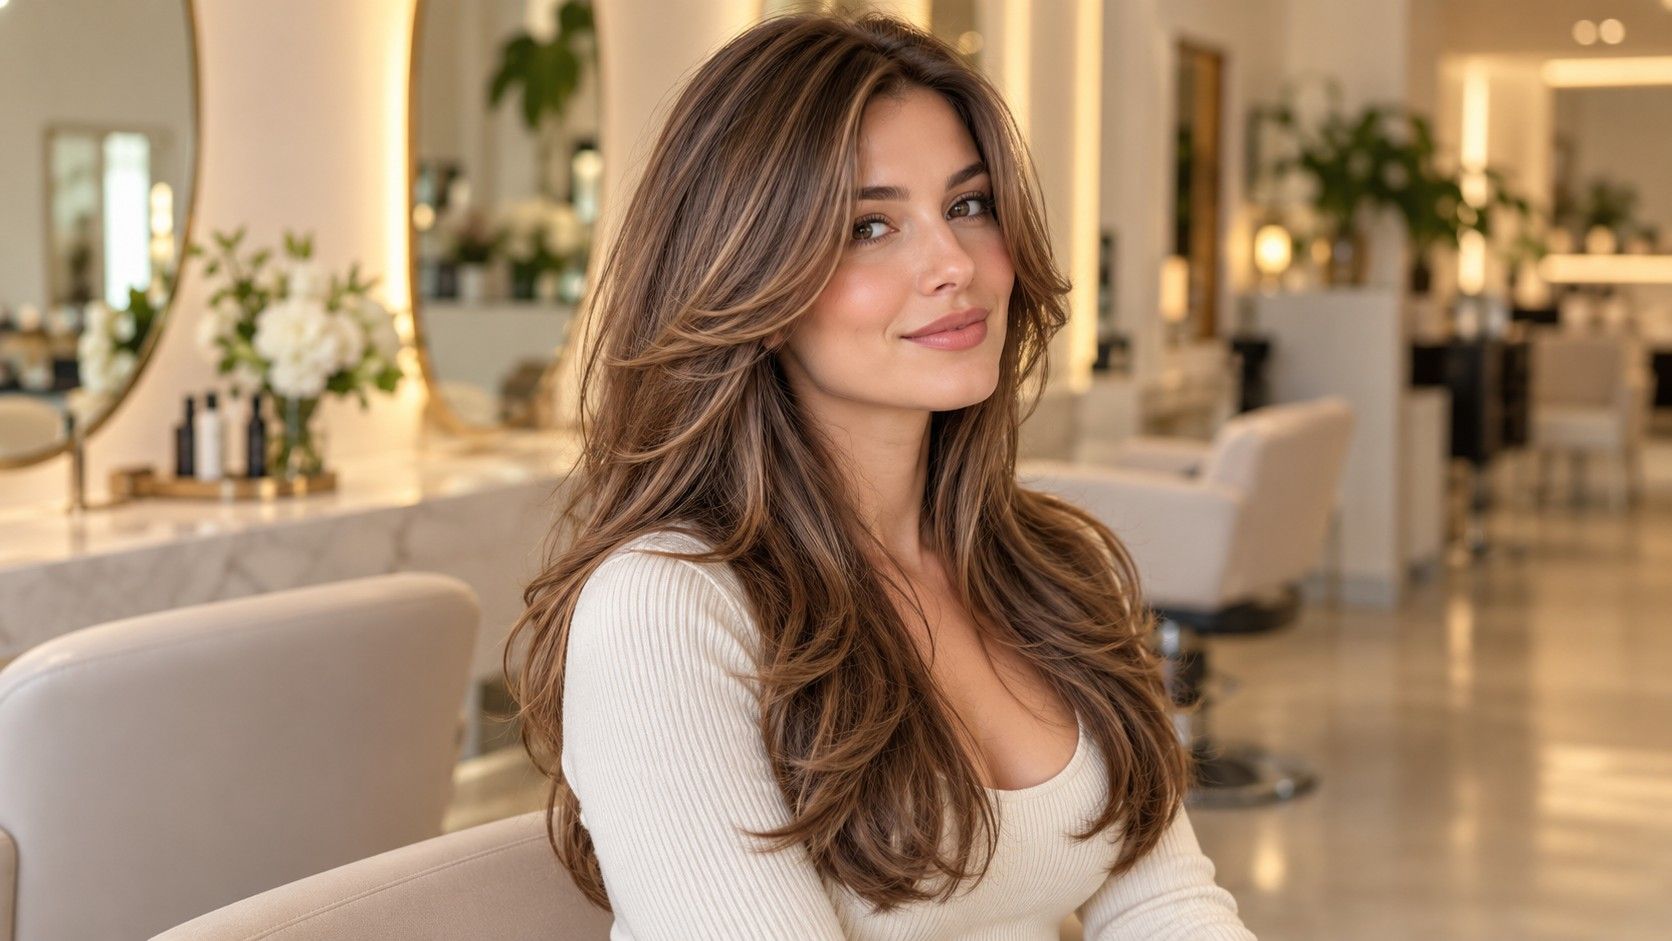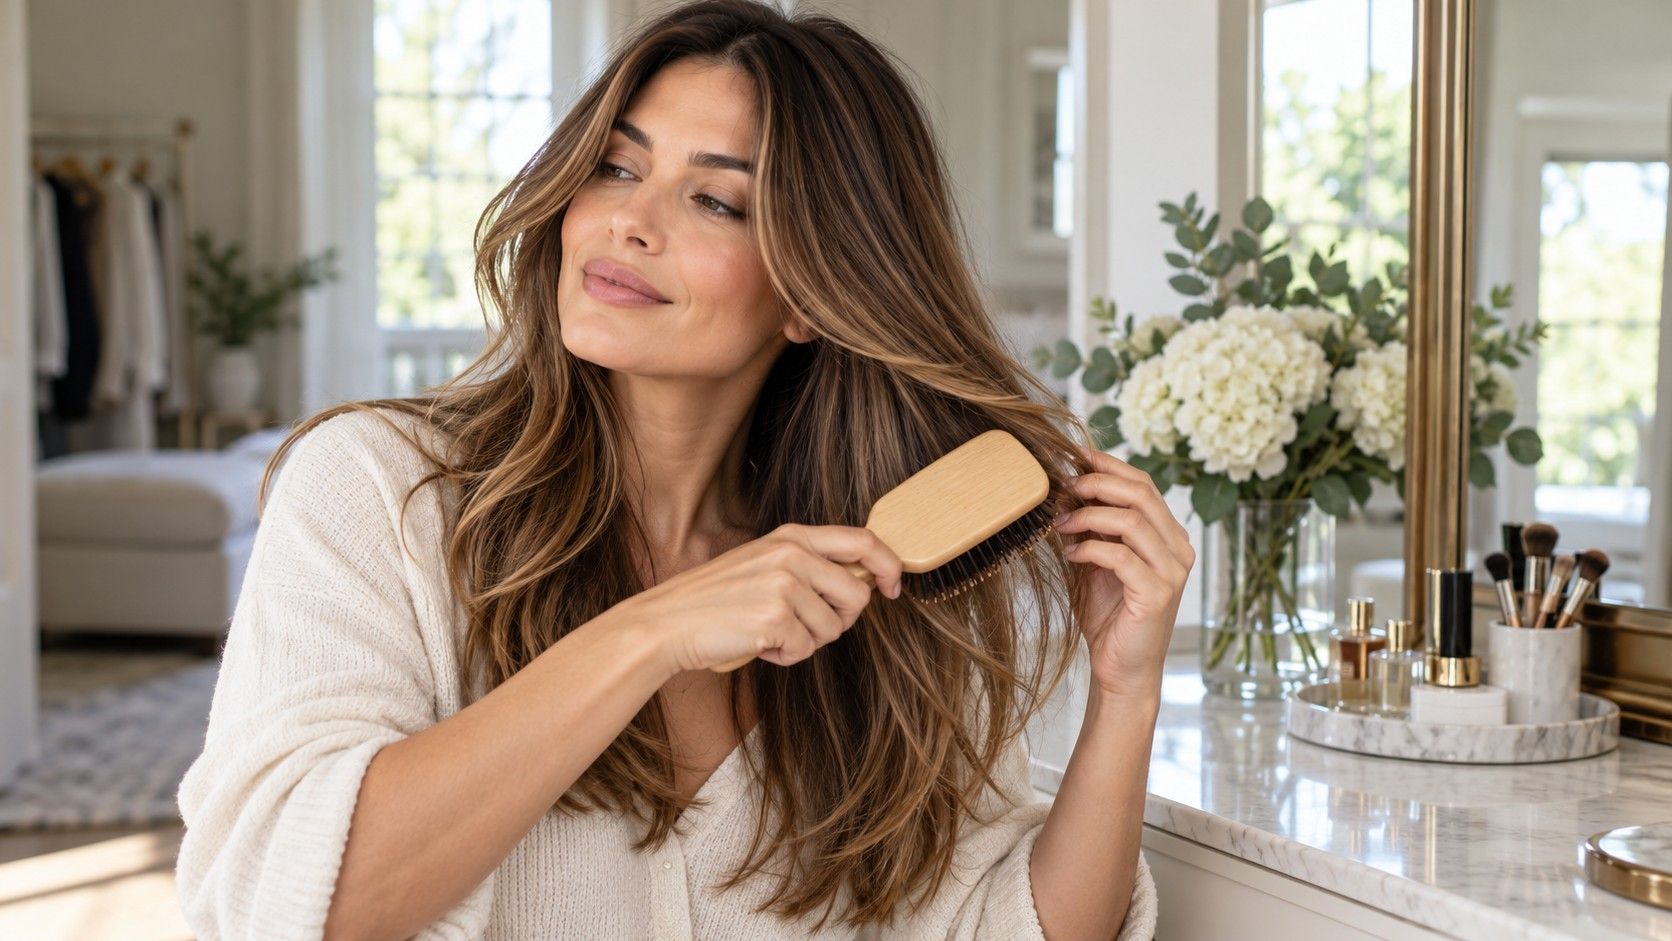
Layers are easier to live with when your styling routine has a clear job. You may want the front out of your eyes, the crown less flat or the ends to look connected. Trying to recreate every curve of a salon finish can turn a small task into a long one. Learning how to style layered hair starts with seeing what the cut already does, then choosing the few adjustments that matter on an ordinary morning.
Find the part of the shape that needs attention
Let the hair settle into its normal parting and look at the front, sides and back before picking up a tool. Separate a styling problem from the way the cut is designed. A short layer will not join a long perimeter simply because it has been brushed repeatedly. A bend resting on a shoulder may return as soon as you move. Identify one visible concern, such as a front piece falling inward, rather than trying to make every section behave identically.
Compare the shape after a wash with the shape after sleeping on it. If the layers look balanced when freshly dry but flatten overnight, your main task is a refresh. If the same ledge or narrow lower edge appears every time, take a photograph for your next salon consultation. Styling can change direction and finish, but it has limits. Recognizing those limits helps you avoid repeatedly applying heat to an area that needs a discussion about length instead.
Use a realistic reference for the day ahead. An airy, brushed finish and an air dried outline are different goals. You can choose either, or keep a polished front with more relaxed lengths. Consider how the hair will be worn later too: under headphones, behind the ears or tied back.
Choose air drying or a small amount of directed drying
For air drying, start with your familiar parting and normal product routine so you can see how the cut behaves. Handle the hair gently and use the detangling approach that suits your texture. Wavy and curly sections may form groups as they dry; repeatedly separating or brushing them can change that pattern. Straight hair may reveal the outline more clearly with a smoother arrangement. There is no need to use one technique across textures that behave differently.
Notice what touches the wet lengths. A shirt collar can turn a shoulder length end, while a tucked front piece may dry with a marked bend. If those details bother you, change the contact where practical and compare the result on another wash. Do not expect a cut at shoulder level to avoid every outward turn. Some movement is part of how the hair meets your body and clothing, rather than evidence that the routine has failed.
A short directed dry can focus on the root area or front pieces that need help. Follow your dryer's instructions, keep the heat modest and avoid holding hot airflow against one spot. Excessive heat can damage hair. If a section feels uncomfortably hot, stop and let it cool. More heat is not a reliable answer to a shape that keeps falling out, and repeating a full dry over already finished lengths adds work without identifying the actual problem.
If you use a diffuser, choose settings and a method consistent with the appliance instructions and your comfort. If you use a brush, work in sections you can control without pulling hard. Ask your stylist to demonstrate the hand position at your next appointment if the front repeatedly tangles or becomes awkward to reach. A modest routine performed comfortably is a better starting point than an elaborate technique you cannot repeat on yourself.
Style the front while leaving the rest alone
Face framing often determines whether a layered cut feels finished. A small change in those pieces can be enough even when the back is untouched. Decide whether you want the front directed away from your face, curved inward or allowed to fall naturally. Check the result with your glasses on and your head turned. Hair that clears the eyes while you look straight ahead can still fall across the frames when you read or bend down.
If you normally use a dryer and brush, concentrate on the sections that need direction and follow the tool instructions. Ask the salon how to achieve your preferred movement with your particular front length. A short curtain fringe and a collarbone length piece will not wrap or settle in the same way. Avoid taking so much hair into the brush that you lose control, and stop if a section catches rather than pulling through a tangle.
For a heat tool, follow the manufacturer's rules about suitable hair condition, handling and use. Many conventional hot tools require fully dry hair; do not assume a damp styling method is safe for a tool that does not specify it. Choose a modest setting and avoid repeated passes in search of a perfect bend. A heat protection product should be used according to its label, and it does not make excessive heat harmless.
You can also accept a softer front and use a clip or tuck when needed. That is useful on days when the natural growth pattern does not match the polished finish you had planned. If the shortest layer consistently falls into your eyes or cannot be secured, note that detail for the next trim. The question may be where the front should land, rather than which extra product will hold it in place.
Choose product by the finish you want to change
Start with the problem, then read the product directions. You might want light hold around the front, less stiffness through the ends or a more controlled surface. Adding a rich finishing product because the cut has layers does not establish whether you need it. Try a small, label appropriate amount and evaluate the dry result before adding more. Different formulas can feel very different, even when their names suggest the same purpose.
Strand size and hair density are separate considerations. Fine individual strands can still form a dense head of hair, while thicker strands may be more widely spaced. Distribute product where it is needed instead of assuming every area needs an equal coating. If the root area becomes flat while the ends still need control, change placement before concluding that the whole routine needs replacing. The dry feel and visible shape provide more useful feedback than a category on the bottle alone.
Make one change at a time across a few ordinary styling attempts. A new cut, new shampoo, new drying technique and several new products make it difficult to identify what worked. Keep a note if the result varies: how wet the hair was, where the product went and whether it was air dried.
Be cautious about adding product to fix every loose strand. A soft outline can include some separation, especially in movement or changing weather. Decide whether the overall shape looks balanced before working on individual pieces. If a product leaves the hair uncomfortable, sticky or harder to arrange, follow its removal instructions and return to a simpler routine. Styling should make the cut easier to wear, not turn it into a surface you are reluctant to touch.
Refresh only the areas that changed between washes
Before refreshing, undo the overnight tie or clip and let the hair settle. Check the crown and front separately from the lengths. Perhaps one flattened area needs attention while the ends still have the shape you like. A gentle rearrangement may be enough; a little water or a product used according to its instructions may suit a specific section. Avoid saturating the whole head by habit if you do not want to repeat the entire drying routine.
Curly and wavy layers may not reform exactly as they did on wash day. Work with the pattern that is present instead of insisting on identical pieces. Straighter layers may show a kink from a tie or an ear tuck. If the bend is inconvenient, focus on that area with an appropriate method rather than restyling the entire perimeter. When using heat during a refresh, the same limits apply: follow instructions, use modest heat and avoid repeatedly reheating the section.
For tied styles, choose an arrangement that respects the shortest pieces. A low ponytail may catch sections that fall from a high bun, or the reverse may be true depending on their position. Try the styles you actually use and keep suitable clips or pins available if you like the loose framing. If securing the front is essential every day, ask the salon to preserve the necessary reach next time rather than relying on increasingly firm hold.
After a few washes, assess whether the routine fits your available time. Bring dry photographs to the salon if a particular section always needs extra work. Explain what you do, how long you want to spend and which length you need to keep. A small adjustment may make the shape more manageable. The goal is a layered haircut that has a recognizable outline with your normal habits, plus a simple way to dress it up when you choose.